DIY Hydroponic Window Boxes for Small Spaces
Key Takeaways
- Hydroponic window boxes are ideal for small living spaces.
- They maximize light exposure and enhance accessibility for urban gardeners.
- Follow step-by-step instructions for creating your own window box system.
- Choose suitable plants that thrive in hydroponic conditions.
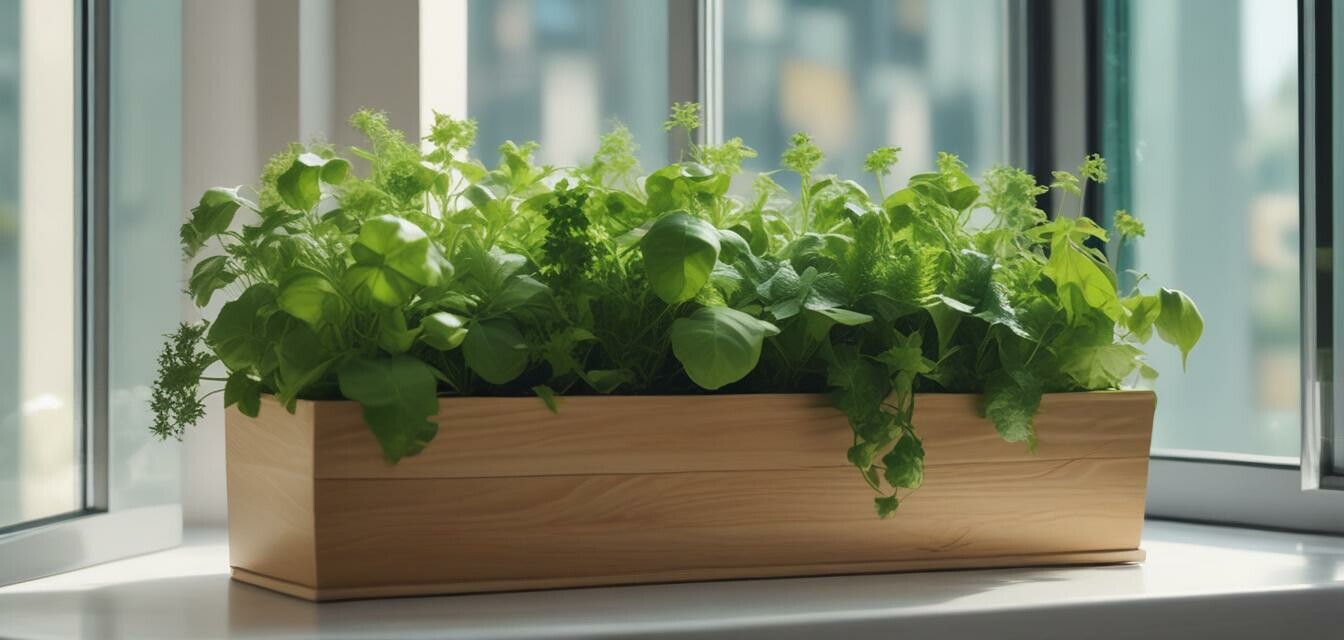
Creating a hydroponic window box is a fantastic way to start your gardening journey, especially if you're working with limited space. This method allows you to grow fresh herbs and vegetables right in your kitchen or on any sunny windowsill. In this guide, we'll walk you through the process of building and maintaining your own hydroponic window boxes that not only save space but also make for a charming addition to your home.
Why Choose Hydroponic Window Boxes?
Hydroponic gardening is quickly gaining popularity due to its numerous benefits:
- Efficient use of space
- Minimal soil mess and maintenance
- Faster growth rates for plants
- Accessibility for gardeners of all levels
Materials Needed
Before you start building your hydroponic window box, gather the following materials:
| Material | Description |
|---|---|
| Plastic storage container | Waterproof container to hold plants and nutrient solution. |
| Growing medium | Hydroponic clay pebbles, coconut coir, or rock wool. |
| Nutrient solution | Specific fertilizers designed for hydroponics. |
| Net pots | Holds plants while allowing roots to access water. |
| Water pump (optional) | Circulates nutrient solution for better growth. |
| Air stone | Creates oxygen bubbles to aerate nutrient solution. |
Step-by-Step Instructions
Now that you have all your materials, follow these steps to create your hydroponic window boxes:
-
Select the right location:
Choose a spot near a sunny window with at least 6-8 hours of indirect sunlight.
-
Prepare the container:
Drill drain holes at the bottom of the plastic storage container for excess water.
-
Add the growing medium:
Fill the net pots with your chosen growing medium, leaving adequate space for the roots to grow.
-
Mix the nutrient solution:
Follow the instructions on your nutrient solution packaging to achieve the right concentration.
-
Set up the window box:
Place the net pots into the container and add the nutrient solution until it reaches just below the net pots.
-
Optional - Install the water pump:
If using, set up the water pump to circulate the nutrient solution efficiently.
-
Monitor and maintain:
Check weekly to ensure the nutrient solution is plentiful and adjust as necessary.
Best Plants for Hydroponic Window Boxes
Choosing the right plants is crucial for a successful hydroponic garden. Here’s a list of herbs and vegetables that thrive in this environment:
- Basil
- Mint
- Parsley
- Chives
- Leafy greens (lettuce, spinach)
- Strawberries
Tips for Success
Beginners Section
- Start with easy-to-grow plants like herbs.
- Monitor plants for pests and diseases regularly.
- Keep a regular schedule for adding nutrients and checking water levels.
Pros
- Space-efficient gardening solution.
- Can be set up indoors in controlled environments.
- Year-round growing potential.
- Minimal maintenance compared to traditional gardening.
Cons
- Initial setup cost may be higher than traditional gardening.
- Requires consistent monitoring of nutrient levels.
- Some plants may not thrive in a hydroponic setup.
Final Thoughts
Creating your own hydroponic window boxes is a rewarding project that can fit into small spaces, enabling you to enjoy gardening without the need for large plots of land. With the right materials, step-by-step instructions, and a bit of patience, you can grow fresh produce right in your home. For more ideas and tips on how to enhance your hydroponic gardening experience, be sure to check out our other DIY projects.